
Building a NAS for your Home Lab
NFS Version for Mac Users

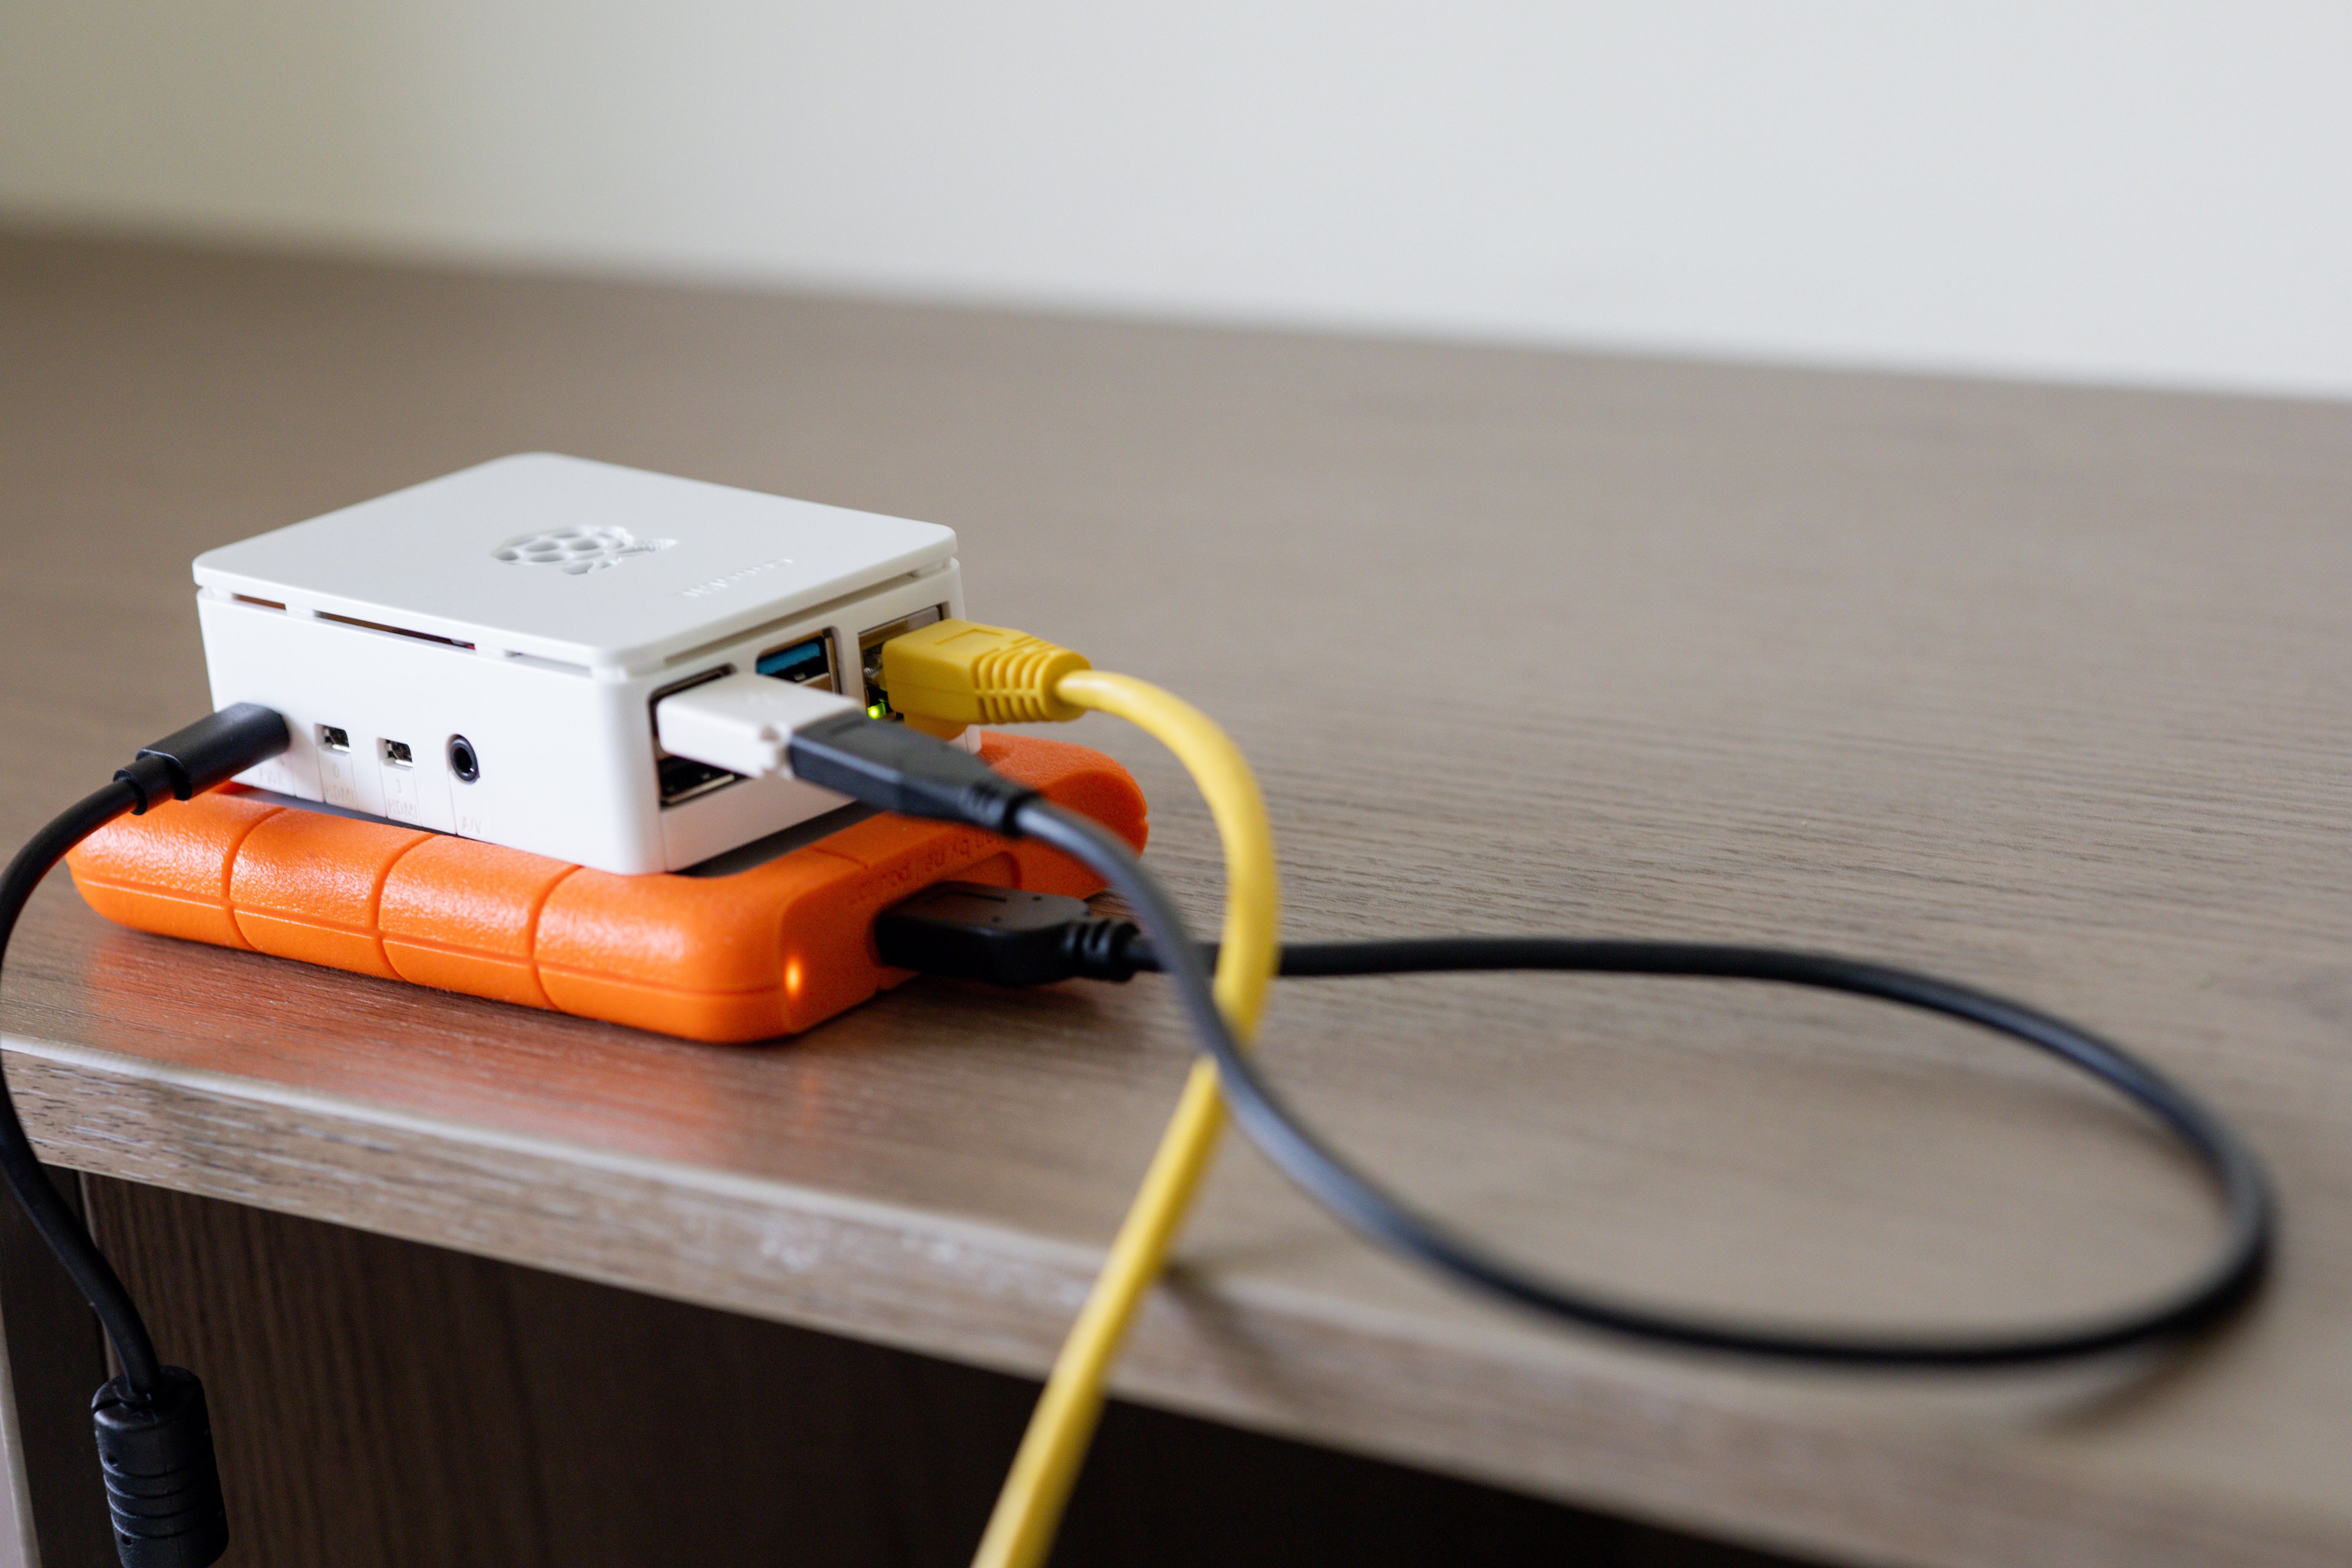
How to Set Up a NAS in Your Home Lab Using a Raspberry Pi and MacBook Pro
If you're looking for a low-cost, portable NAS solution for your home lab, a Raspberry Pi is the perfect option. We’ll walk you through the steps to transform your Raspberry Pi 4 into a fully functional NAS device, allowing you to store and access your files from anywhere. All you need is a Raspberry Pi, an external hard drive, and a MacBook Pro for easy access. Let’s get started!
What You'll Need:
Raspberry Pi 4 (4GB or 8GB RAM recommended) – This will serve as the heart of your NAS.
Micro SD Card (16GB or larger) – To run the operating system on the Raspberry Pi.
External USB Hard Drive (like a 1TB Lacie USB-C to USB-C Drive) – This will be your storage for all the files.
USB-A to USB-C Adapter – For connecting your external drive to the Raspberry Pi if it’s USB-C.
MacBook Pro – For accessing the NAS and transferring files.
Ethernet Cable – For stable network access (Wi-Fi can be unreliable for heavy file transfers).
Step 1: Prepare the Raspberry Pi
Let’s begin by preparing the SD card for the Raspberry Pi. Use the Raspberry Pi Imager to flash the operating system:
Download and install the Raspberry Pi Imager.
Choose Raspberry Pi OS Lite (no desktop) for a lightweight setup.
Insert your microSD card into your computer and select it in the imager.
Press Ctrl+Shift+X to open advanced options, enable SSH, and set a password for the Pi user.
Write the OS image to the SD card, then safely eject it and insert it into your Raspberry Pi.
Step 2: SSH into Your Raspberry Pi
Once the Raspberry Pi boots up, find its IP address by logging into your router (you can do this simply using an IP Scanner app) . Then, SSH into your Raspberry Pi from your MacBook terminal using:
ssh pi@[IP Address]The default password is raspberry. Change this password for security as soon as you log in.
Step 3: Update Raspberry Pi OS
Run the following commands to update the operating system:
sudo apt update && sudo apt upgradeStep 4: Install OpenMediaVault
OpenMediaVault is a great, free NAS solution that works perfectly on the Raspberry Pi. To install it, run the following:
sudo wget -O - https://github.com/OpenMediaVault-Plugin-Developers/installScript/raw/master/install | sudo bashOnce installed, the Pi may disconnect, and the IP address might change. Check your router for the new IP address and SSH back into the Raspberry Pi.
Step 5: Access OpenMediaVault Web Interface
Now, open your browser and navigate to http://[Raspberry Pi IP] to access the OpenMediaVault dashboard.
Login with the default credentials:
Username: admin
Password: openmediavault
Change the default password right away for security purposes.
Step 6: Attach Your External Hard Drive
Plug in your USB external hard drive to the Raspberry Pi. This is where you may need to insert the USB-A to USB-C adapter first depending on the type of USB connection your external hard drive has at the external device connection point.
In OpenMediaVault, go to Storage > Disks to verify that the system recognizes your drive. You’ll use this drive as your main storage for the NAS.
Step 7: Format the Drive
To prepare the external hard drive:
Go to Storage > File Systems.
Select your external USB drive and click Mount.
Wait for the system to apply the changes.
Step 8: Create a Shared Folder
Next, create a shared folder where you’ll store your files:
Go to Access Rights Management > Shared Folders.
Click Add, name the folder (e.g., "NAS"), and select your USB drive as the device.
Save the changes and adjust any necessary permissions for file access.
Step 9: Configure NFS Shares
Since we’re using NFS (Network File System) to share the NAS folder with your MacBook, follow these steps:
Navigate to Services > NFS and enable NFS.
Add your shared folder under NFS Shares and save the changes.
Apply the settings to enable access via NFS.
Step 10: Mount the NAS on Your MacBook Pro
On your MacBook, you’ll mount the shared folder from the Raspberry Pi using NFS. Here’s how:
Open Terminal and type the following command to mount the folder:
sudo mount -t nfs [Raspberry Pi IP Address]:/mnt/your_shared_folder /mnt/your_local_folderReplace [Raspberry Pi IP Address] with your actual Pi IP address and adjust folder names accordingly.
Now, you should have direct access to the NAS on your MacBook.
Step 11: Troubleshooting NFS Errors
If you encounter any errors with NFS, follow these steps to troubleshoot:
Stop SMB services if they are running.
Delete the shared folder and unmount the USB drive.
Reformat the drive with ext4 and remount it.
Re-enable NFS services and apply changes.
YOU HAVE A NAS!
You now have a fully functional NAS set up on your Raspberry Pi! This setup allows you to store and share files over the network with your MacBook, and it’s an excellent way to create a low-cost NAS solution. Plus, this NAS is portable! For an even more secure NAS you can connect directly to a VPN Wifi Router for security (Hint: This may be another project in the near future).
As always thanks for joining. Let me know how your Home Lab NAS project turned out in the comments!